How to print certificates – Embark on a journey into the realm of certificate printing, where we delve into the intricacies of creating and producing visually stunning and meaningful documents that recognize achievements and commemorate special occasions.
From the initial design phase to the final touches, this guide will equip you with the knowledge and techniques to produce certificates that leave a lasting impression and convey the significance of the recognition being bestowed.
Printing Certificates from Microsoft Word

Creating a certificate in Microsoft Word involves selecting a template or creating a new document, adding text and images, customizing the appearance, setting up the printer settings, and troubleshooting any issues encountered.
Creating a Certificate
- Select a certificate template from the available options or create a new document.
- Insert text fields and images to personalize the certificate.
- Customize the font, size, color, and alignment of the text.
- Add borders, watermarks, or other design elements to enhance the appearance.
Printer Settings
- Select the appropriate printer and paper size.
- Choose the paper type, such as cardstock or parchment, to match the certificate’s purpose.
- Adjust the print quality and resolution for optimal results.
- Preview the certificate before printing to ensure accuracy.
Troubleshooting
Printer issues
Check the printer’s connection, paper supply, and ink levels.
Print quality issues
Adjust the print settings, clean the printer heads, or replace the ink cartridges.
Alignment issues
Ensure the paper is properly loaded and the printer settings are correct.
Printing Certificates from Google Docs: How To Print Certificates

Google Docs offers a convenient and accessible platform for designing and printing certificates. This section provides a comprehensive guide to creating professional-looking certificates using Google Docs, including instructions for adding borders, backgrounds, and watermarks.
Designing a Certificate in Google Docs
To design a certificate in Google Docs, follow these steps:
- Open Google Docs and create a new document.
- Select “File” > “Page Setup” and set the page size and orientation.
- Insert the desired text, images, and graphics.
- Use the “Format” menu to adjust font, size, and alignment.
Adding Borders, Backgrounds, and Watermarks
To enhance the visual appeal of your certificate, consider adding borders, backgrounds, and watermarks:
- Borders:Select the text or object you want to add a border to, then click “Format” > “Borders & Lines” to choose the desired style and color.
- Backgrounds:Click “Insert” > “Image” > “From computer” to upload an image as a background. Adjust the size and position as needed.
- Watermarks:Click “Insert” > “Watermark” to add a text or image watermark. Choose the desired text or image, opacity, and position.
Exporting the Certificate as a PDF for Printing
Once you have finished designing your certificate, it’s time to export it as a PDF for printing:
- Click “File” > “Download” > “PDF Document (.pdf)”
- Select the desired print settings, such as paper size and orientation.
- Click “Save” to export the certificate as a PDF.
Using Online Certificate Makers
Online certificate makers offer several benefits, including:
- Convenience and accessibility: They can be accessed from anywhere with an internet connection.
- Customization: They provide a wide range of templates and design options to create personalized certificates.
- Efficiency: They automate the process of certificate creation, saving time and effort.
- Cost-effectiveness: Many online certificate makers offer free or low-cost plans.
Popular online certificate makers include:
- Canva: Offers a user-friendly interface and a vast library of templates.
- Adobe Spark: Known for its professional-grade design tools and customizable templates.
- CertifiKID: Specializes in creating certificates for children and students.
- Lucidpress: Provides advanced editing features and collaboration tools.
- Fotor: Offers a wide range of templates and design elements.
To create a certificate using an online certificate maker, follow these steps:
- Choose a template or start from scratch.
- Customize the certificate by adding text, images, and design elements.
- Preview the certificate and make any necessary adjustments.
- Download or print the certificate.
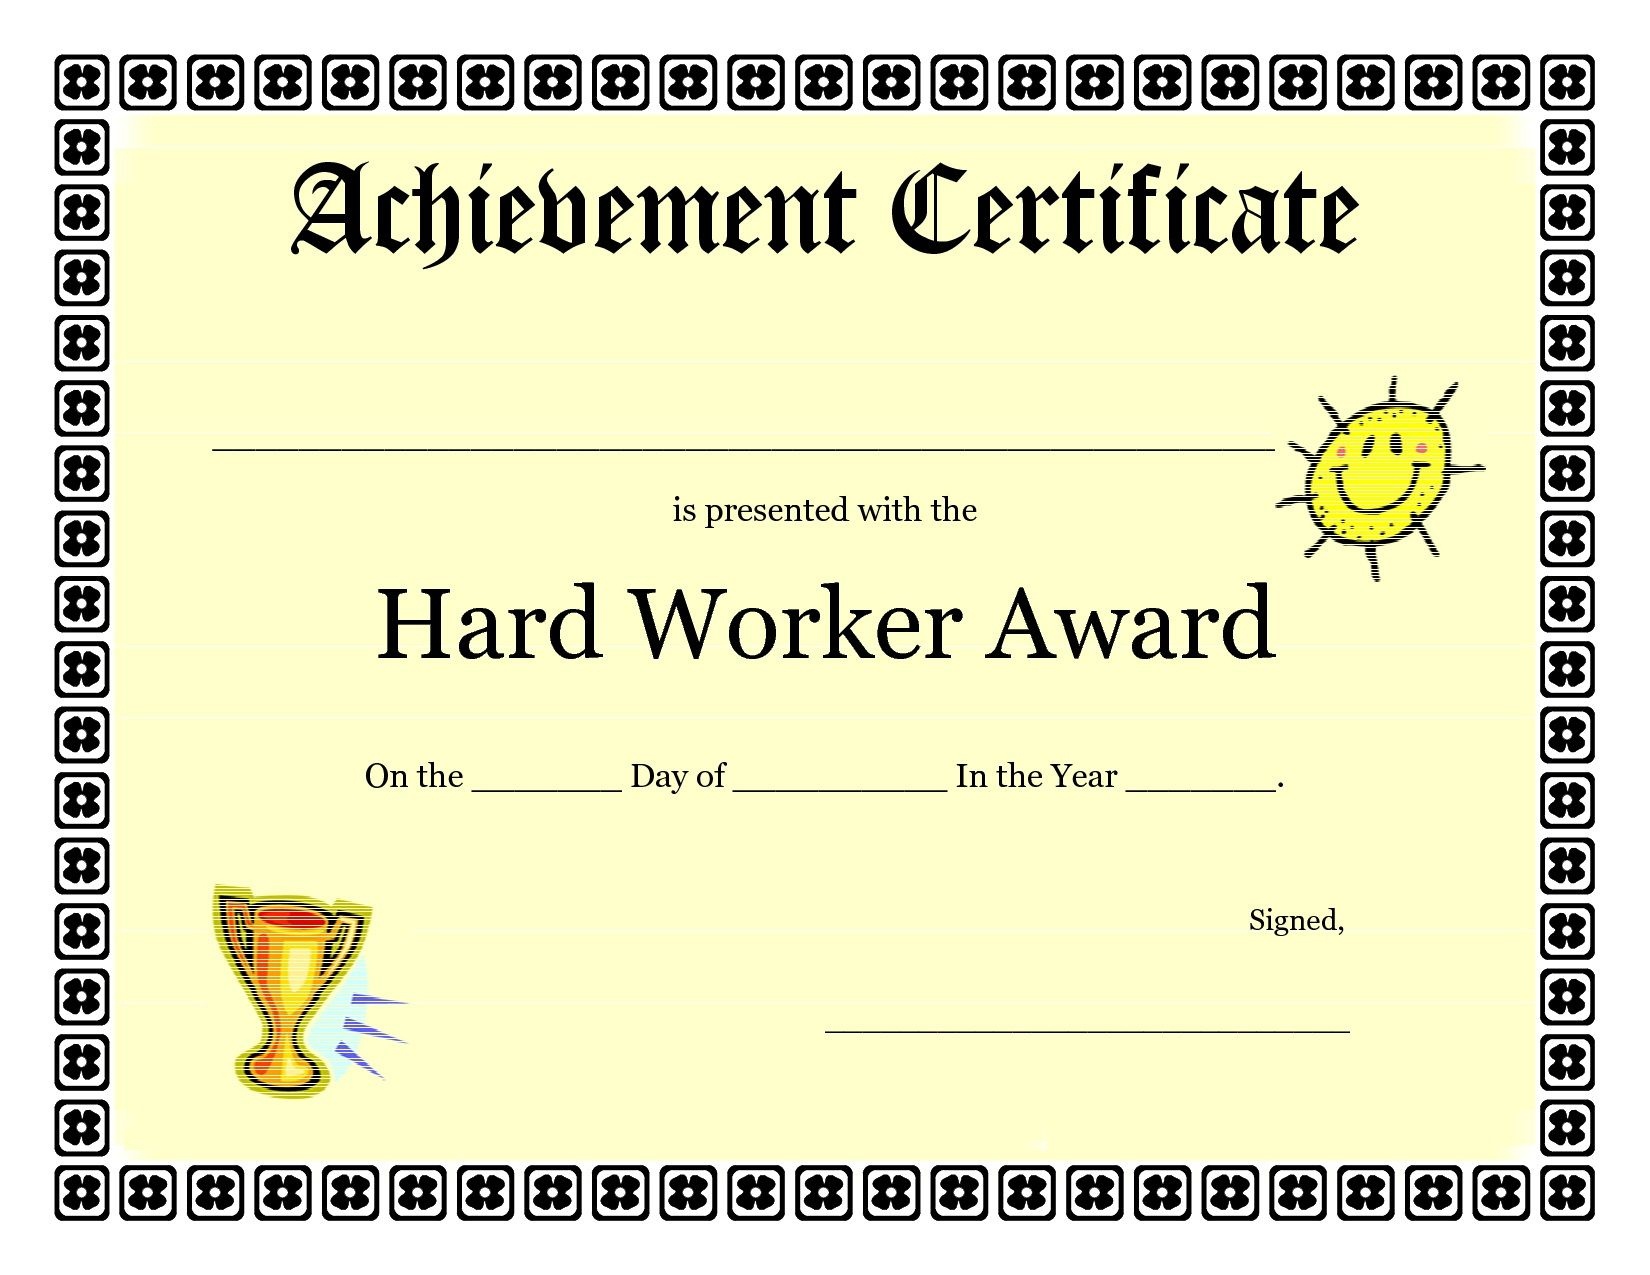
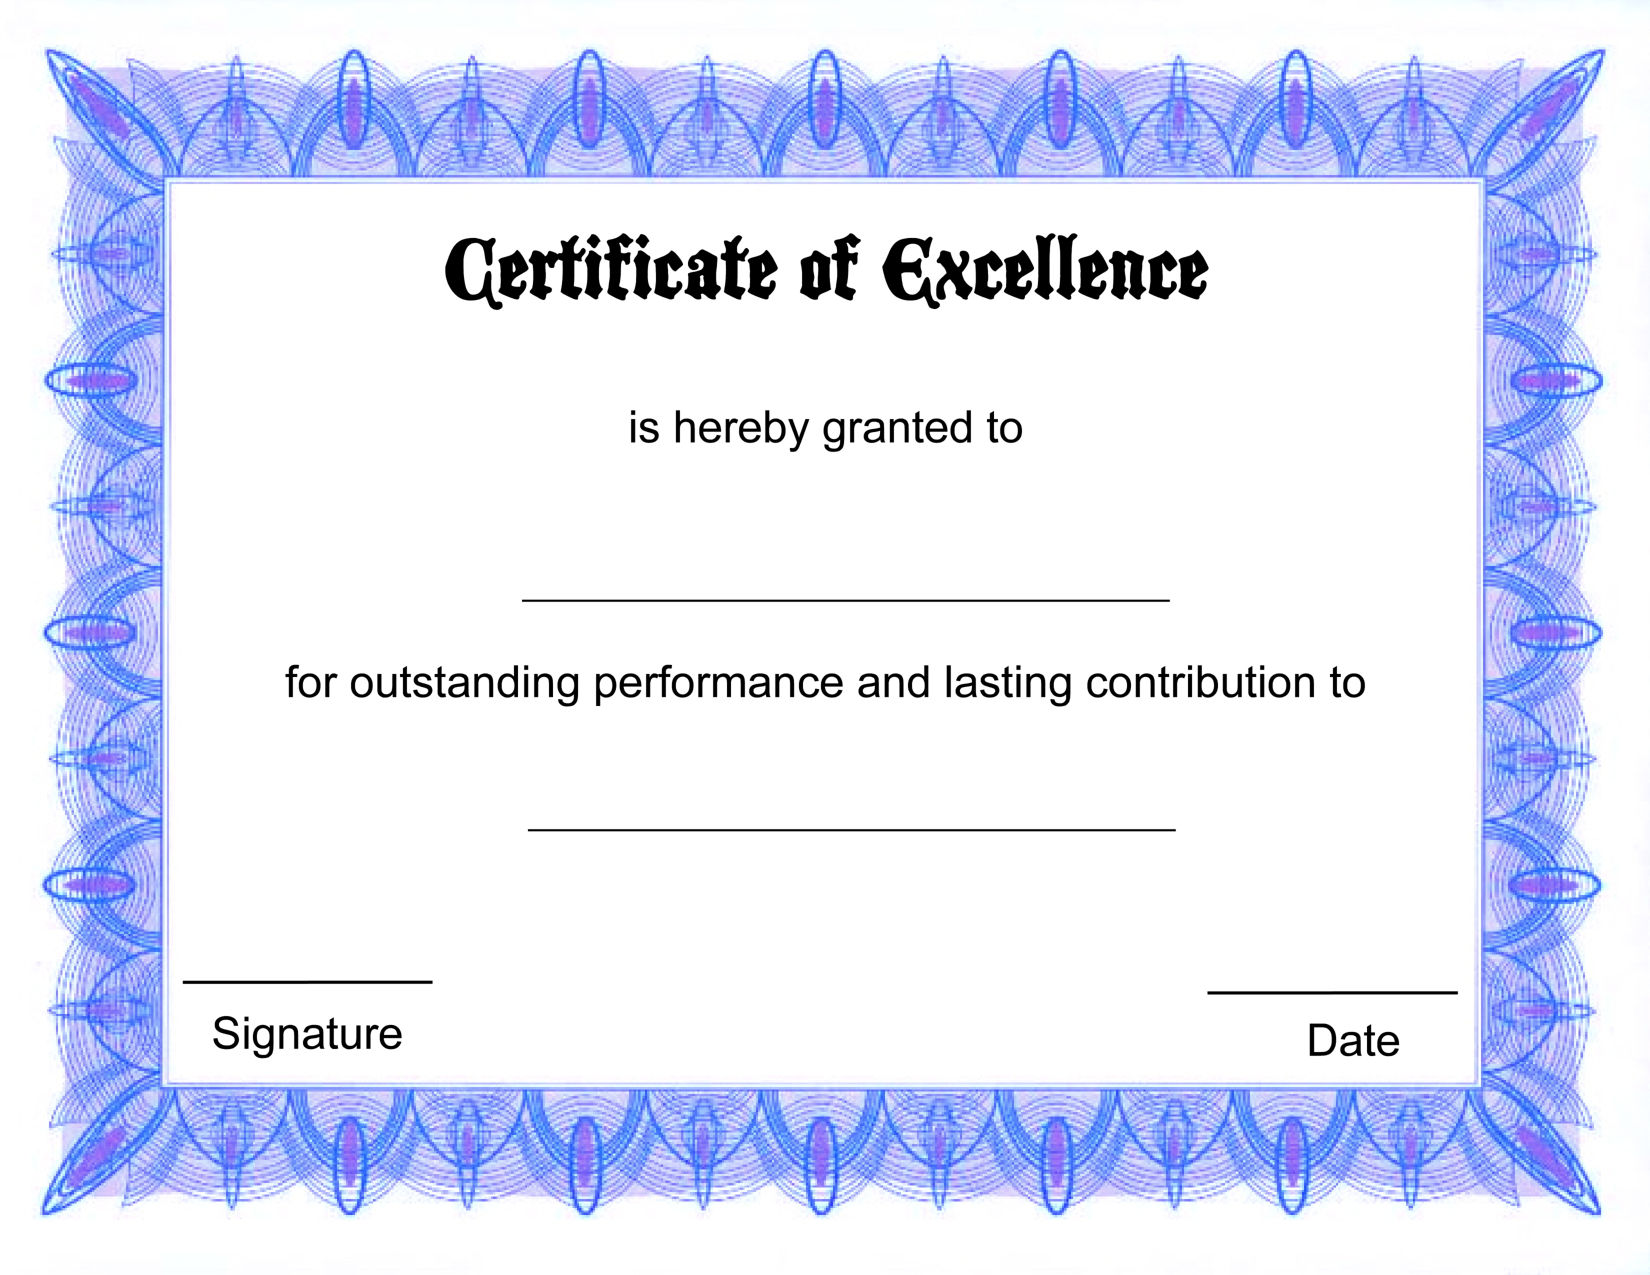
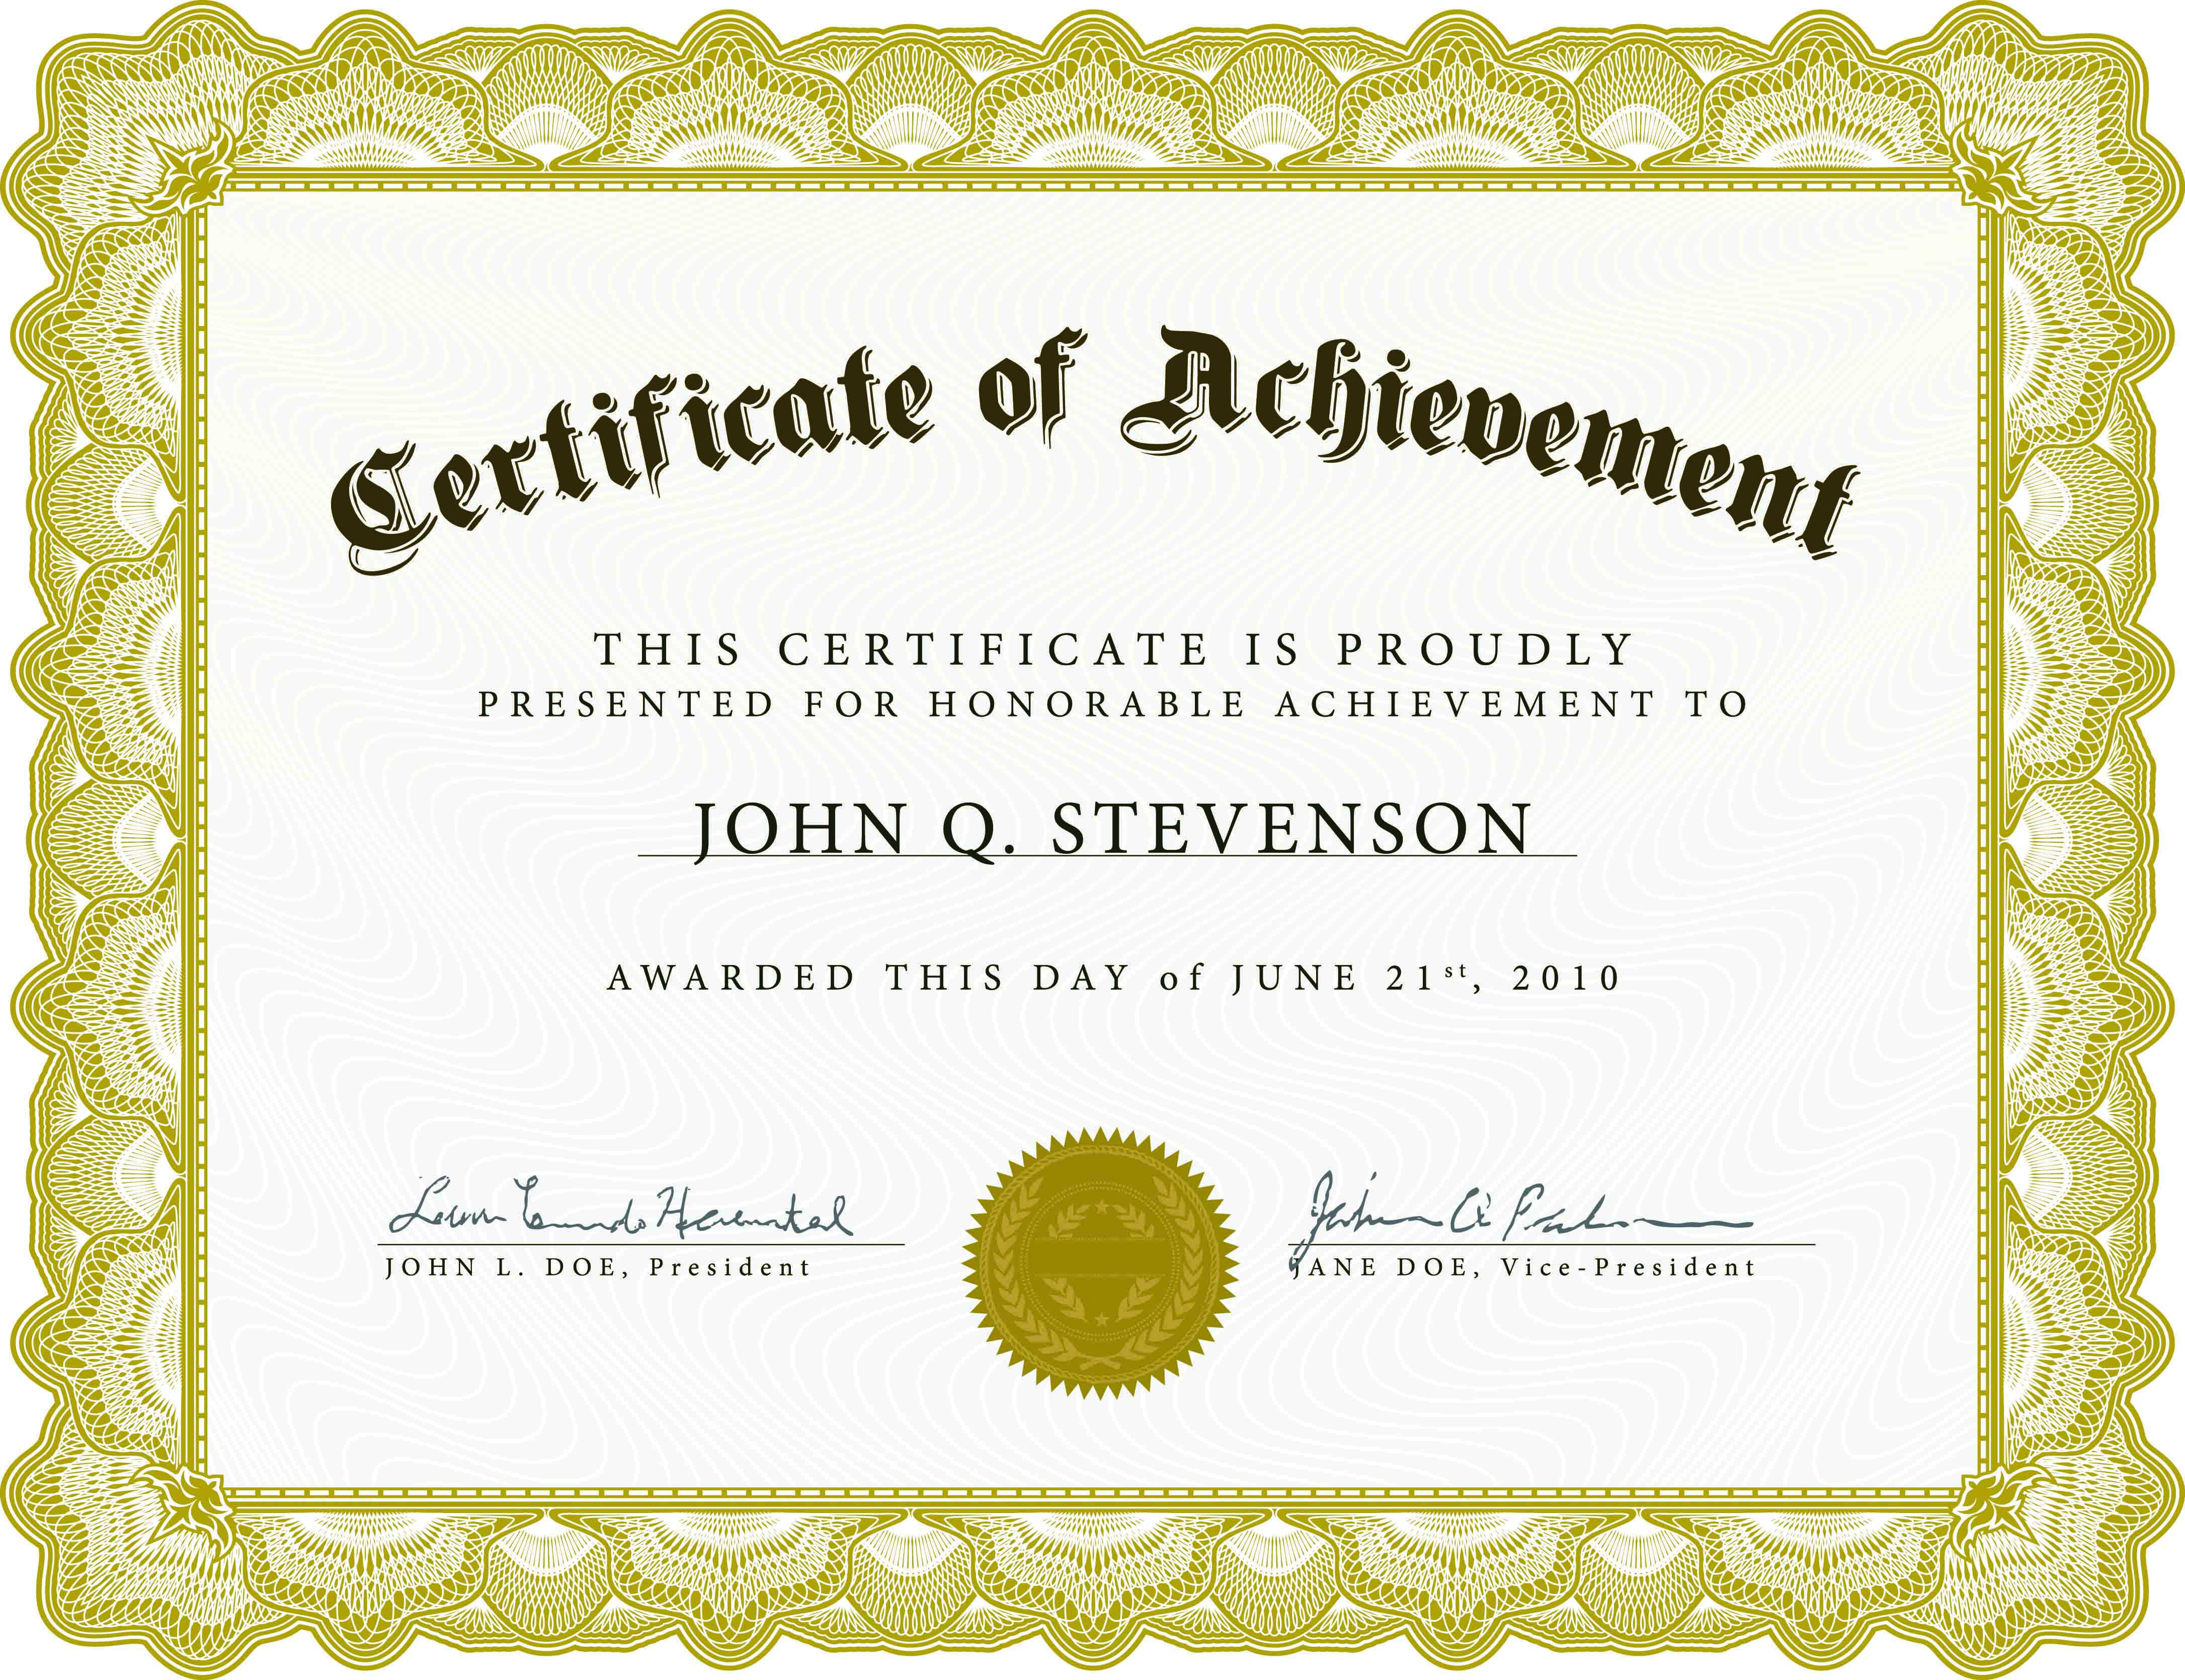
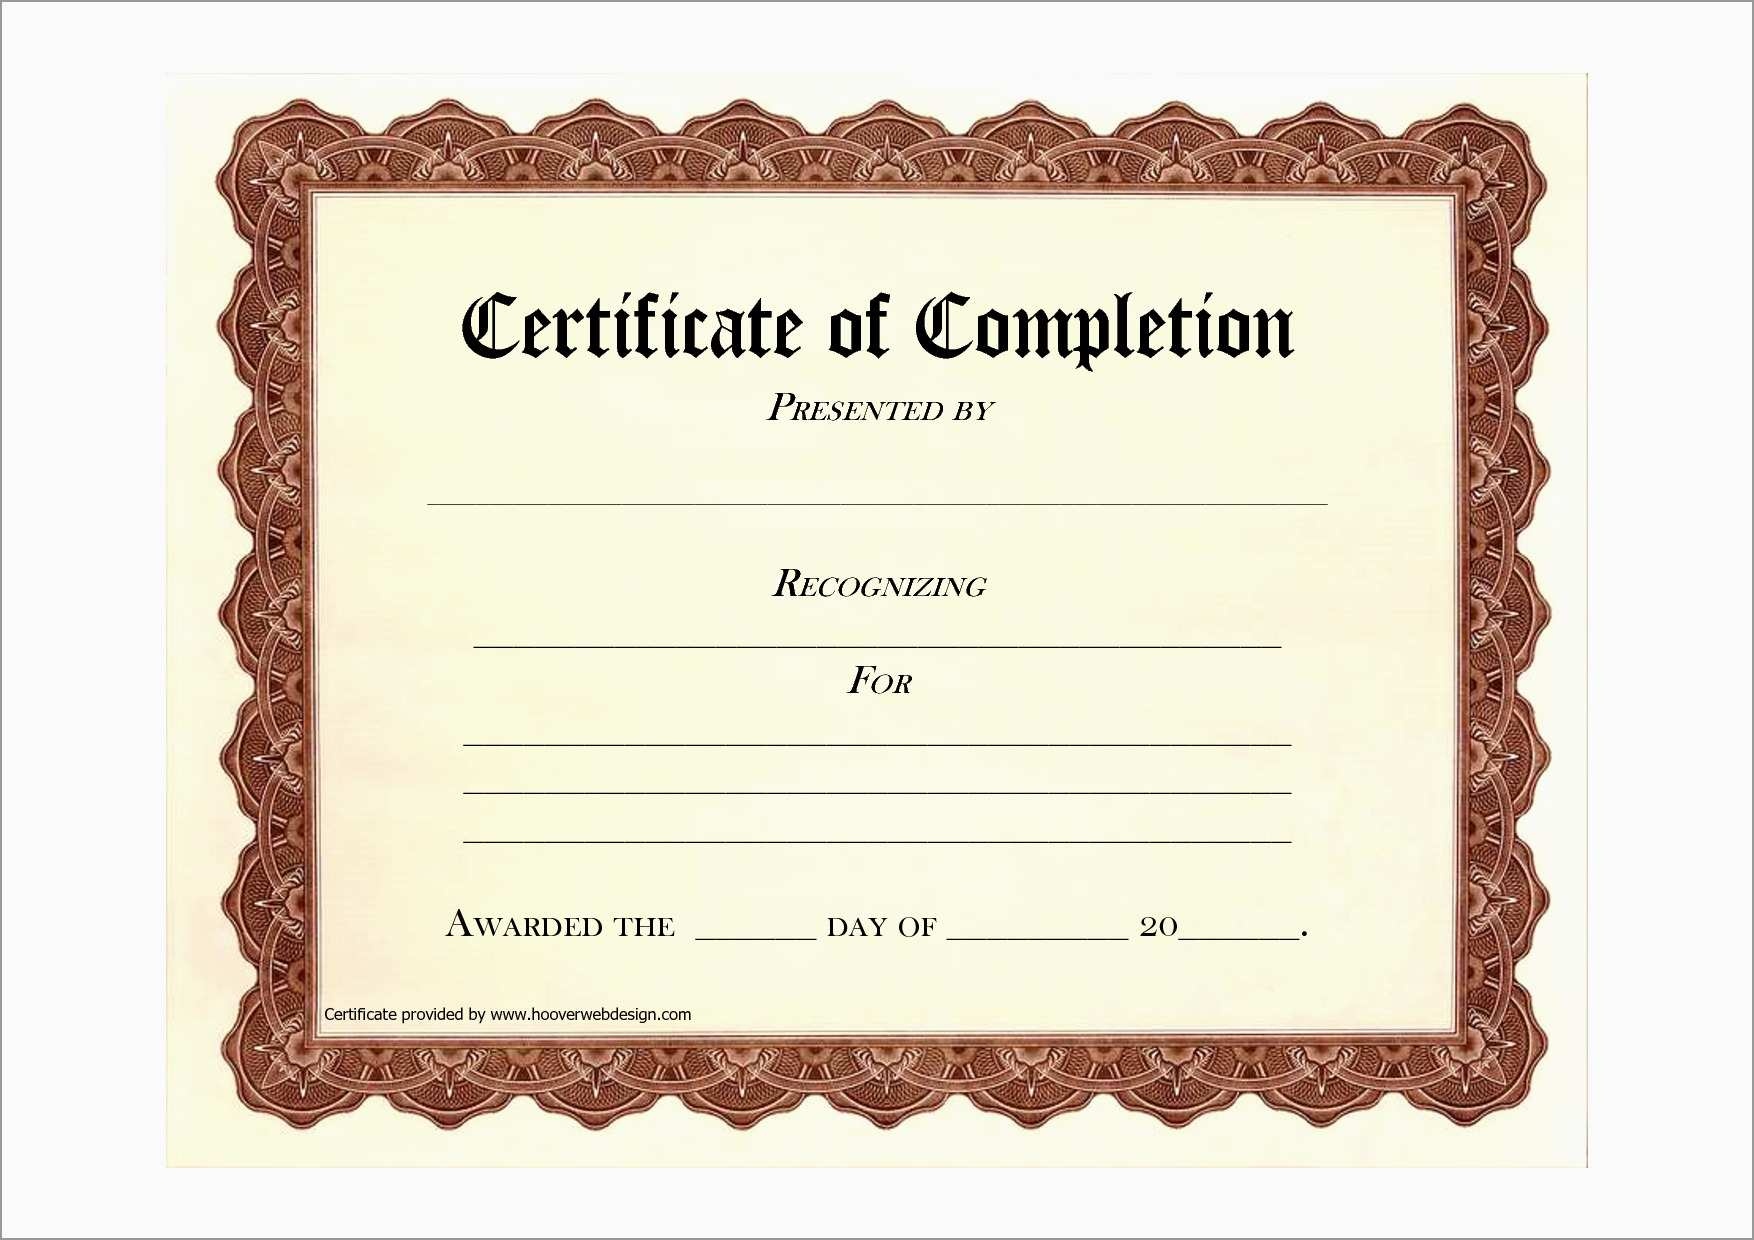
Online certificate makers can be used to create various types of certificates, such as:
- Recognition certificates: To acknowledge achievements or contributions.
- Achievement certificates: To reward accomplishments or milestones.
- Completion certificates: To certify the completion of a course or program.
Compared to traditional methods of certificate creation, online certificate makers offer several advantages:
- Ease of use: They are designed to be user-friendly and accessible to non-designers.
- Time-saving: They automate the design and production process.
- Cost-effective: They offer affordable options compared to professional design services.
However, there are also some drawbacks:
- Limited customization: Some platforms may have limited design options or template choices.
- Security concerns: Ensure the platform you choose has adequate security measures to protect sensitive data.
To design effective certificates using online platforms, consider the following tips:
- Use high-quality images and graphics.
- Choose fonts that are easy to read and visually appealing.
- Keep the design clean and uncluttered.
- Proofread carefully before finalizing the certificate.
Comparison of Online Certificate Makers, How to print certificates
| Feature | Canva | Adobe Spark | CertifiKID | Lucidpress | Fotor |
|---|---|---|---|---|---|
| Templates | 500+ | 200+ | 100+ | 300+ | 250+ |
| Design tools | Basic | Advanced | Basic | Advanced | Basic |
| Collaboration | Yes | Yes | No | Yes | Yes |
| Pricing | Free (limited features), $12.99/month (Pro) | Free (limited features), $9.99/month (Premium) | Free (limited features), $9.99/month (Pro) | Free (limited features), $10/month (Basic) | Free (limited features), $8.99/month (Pro) |
Step-by-Step Guide to Creating a Certificate Using Canva
- Create a Canva account and log in.
- Choose a certificate template or create a new one from scratch.
- Customize the certificate by adding text, images, and design elements.
- Preview the certificate and make any necessary adjustments.
- Download or print the certificate.
Troubleshooting Common Issues
- Certificate not printing correctly: Check the printer settings and ensure the certificate is properly formatted.
- Certificate not loading in the online platform: Refresh the browser or try using a different browser.
- Unable to save the certificate: Ensure you have sufficient storage space and check the platform’s file size limits.
Paper Selection for Certificates
The choice of paper for certificates is crucial to convey professionalism and enhance the overall impact. Various types of paper are available, each with unique characteristics that influence the final appearance and durability of the certificate.
Paper Weight
Paper weight is measured in pounds per ream (lb/ream). For certificates, a heavier weight paper is recommended, typically ranging from 24 lb to 32 lb. Heavier paper provides a more substantial feel, adding to the perceived value and importance of the certificate.
Paper Texture
The texture of paper affects its tactile and visual appeal. Smooth papers, such as vellum or laid paper, offer a classic and elegant look. Textured papers, such as linen or canvas, add a touch of sophistication and dimension to the certificate.
Paper Color
The color of the paper can enhance the visual impact of the certificate. Traditional colors like white or cream are commonly used for a timeless and professional look. Colored papers, such as blue or gold, can add a touch of distinction and complement the design of the certificate.
Recommendations for Professional-Looking Certificates
- Opt for heavier paper (24 lb to 32 lb) to convey a sense of quality.
- Choose smooth or textured paper depending on the desired aesthetic.
- Select a paper color that complements the design and conveys the desired tone.
- Consider using acid-free paper to ensure the certificate’s longevity.
– Inkjet vs. Laser Printing
Inkjet and laser printers use different technologies to produce printed documents. Inkjet printers spray tiny droplets of ink onto the paper, while laser printers use a laser to create an electrostatic image on the paper that is then developed with toner powder.
Both types of printers have their own advantages and disadvantages, and the best choice for printing certificates will depend on the specific needs.
The main difference between inkjet and laser printers is the way they produce images. Inkjet printers use a print head that moves back and forth across the paper, spraying tiny droplets of ink onto the paper. The size and placement of the ink droplets determine the image that is printed.
Laser printers, on the other hand, use a laser to create an electrostatic image on the paper. The laser beam is directed at a rotating drum, which is coated with a photoreceptor material. The photoreceptor material is sensitive to light, and the laser beam creates an electrostatic image on the drum.
The electrostatic image is then developed with toner powder, which is attracted to the charged areas of the drum. The toner powder is then transferred to the paper, where it is fused to the paper by heat.
Certificate Size and Orientation

The size and orientation of a certificate play a crucial role in its overall appearance and impact. Standard sizes and orientations have been established to ensure uniformity and professional presentation.
Factors to consider when selecting the appropriate size and orientation include:
- Purpose and use of the certificate
- Available space for display
- Desired visual impact
Standard Sizes
The most common certificate sizes are:
- 8.5″ x 11″ (Letter size)
- 11″ x 14″
- 11″ x 17″
Letter size is suitable for smaller certificates, such as those awarded for completing a course or training program. Larger sizes are preferred for more prestigious or formal certificates, such as diplomas or degrees.
Orientation
Certificates can be printed in either portrait or landscape orientation.
- Portrait orientation is used for certificates that are taller than they are wide.
- Landscape orientation is used for certificates that are wider than they are tall.
The choice of orientation depends on the design of the certificate and the desired visual impact.
Printing Certificates in Bulk
Printing certificates in bulk requires careful planning and execution to ensure efficiency and accuracy. Here are the steps involved:
Setting Up a Print Job
Begin by setting up the print job in your preferred printing software or online service. Specify the page size, orientation, and quantity of certificates required. Ensure the page setup matches the size and orientation of the certificate template.
Batch Printing Software or Online Services
For large-scale printing, consider using batch printing software or online services. These tools allow you to automate the printing process, saving time and effort. They typically support features such as variable data printing, where each certificate can be customized with unique information.
Troubleshooting Common Issues
During bulk printing, it’s essential to troubleshoot common issues promptly. Check for paper jams, ink levels, and printer connectivity. Ensure the printer is correctly calibrated to produce high-quality prints. If errors occur, consult the printer’s user manual or contact technical support.
Secure Storage and Distribution
Once printed, store the certificates securely to prevent unauthorized access. Consider using a locked cabinet or storage facility. When distributing the certificates, use a secure method, such as registered mail or a courier service, to ensure they reach the intended recipients.
Finishing and Embellishments

Certificates are often more than just a piece of paper; they represent recognition, achievement, and honor. To make them truly special, consider adding finishing touches that enhance their appearance and durability.
Lamination
- Benefits:Protects against moisture, tearing, and fading; gives a professional and polished look.
- Costs:Varies depending on size and thickness; typically more affordable than other finishing options.
- Examples:Diplomas, certificates of completion, awards.
Embossing
- Benefits:Creates a raised, three-dimensional effect; adds a touch of elegance and formality.
- Costs:More expensive than laminating; requires specialized equipment and expertise.
- Examples:Legal documents, university degrees, commemorative certificates.
Foil Stamping
- Benefits:Adds a metallic or colored shine; creates a luxurious and eye-catching effect.
- Costs:Most expensive finishing option; requires a custom-made die.
- Examples:Certificates of excellence, commemorative awards, corporate documents.
Ribbons and Tassels
Ribbons and tassels add a touch of elegance and sophistication to certificates. They can be used to hang the certificate or simply to decorate the border.
Special Effects
Special effects, such as holographic foil or raised lettering, can create a truly unique and memorable certificate. These effects are often used on high-end certificates and awards.
| Finishing Option | Benefits | Costs | Examples |
|---|---|---|---|
| Laminating | Protection, professional look | Affordable | Diplomas, awards |
| Embossing | Raised effect, elegance | Expensive | Legal documents, degrees |
| Foil Stamping | Metallic shine, luxury | Most expensive | Certificates of excellence, corporate documents |
Security Features for Certificates
Printed certificates often require security features to prevent counterfeiting and ensure their authenticity. These features vary in complexity and effectiveness, from simple watermarks to advanced holographic images and unique numbering systems.
Watermarks
Watermarks are faint designs or patterns embedded into the paper during the manufacturing process. When held up to light, they become visible, providing a simple but effective way to detect counterfeits. Watermarks can be customized with unique designs or logos, making them difficult to replicate.
Holograms
Holograms are three-dimensional images that create an illusion of depth when viewed from different angles. They are highly secure and difficult to forge, making them a popular choice for high-value certificates. Holograms can be customized with unique designs or patterns, adding an extra layer of security.
Unique Numbering
Assigning each certificate a unique serial number helps prevent counterfeiting and allows for easy tracking and verification. The numbering system can be combined with other security features, such as watermarks or holograms, to enhance its effectiveness.
High-Quality Materials and Printing Techniques
Using high-quality paper and printing techniques can also contribute to the security of certificates. Special papers with security features, such as embedded fibers or chemical treatments, can make it difficult to alter or counterfeit the document. Advanced printing techniques, such as microprinting or laser engraving, can create fine details that are difficult to replicate.
When printing certificates, it’s crucial to ensure accuracy and clarity. For complex documents like certificates, specialized software may be required. However, for simple certificates, basic printing methods can suffice. If you’re looking for guidance on printing in C++, consider exploring resources on how to print grpc c++ case statement.
This can provide valuable insights into handling case statements while printing. Ultimately, the best printing method depends on the specific requirements and complexity of the certificates being printed.
Examples of Implementation
Security features have been widely implemented in real-world applications. For example, currency notes incorporate watermarks, holograms, and unique numbering to prevent counterfeiting. Passports and other travel documents often use holograms and embedded fibers to ensure authenticity. Academic certificates and diplomas may include watermarks and unique numbering to prevent fraud.
When printing certificates, it’s essential to ensure accuracy and high-quality output. To achieve this, consider using specialized software designed for certificate printing. Additionally, explore online resources for pre-designed templates that can simplify the process. While focusing on certificate printing, it’s also worth noting that do not enter signs are readily available for printing, providing clear and effective warnings for restricted areas.
Returning to the topic of certificate printing, remember to use high-quality paper and ink to ensure the certificates are durable and visually appealing.
Advantages and Disadvantages of Security Features
| Security Feature | Advantages | Disadvantages |
|---|---|---|
| Watermarks | Simple and cost-effectiveCan be customized with unique designs | Can be difficult to detect without proper lightingCan be replicated with advanced printing techniques |
| Holograms | Highly secure and difficult to forgeCan be customized with unique designs | More expensive than watermarksCan be damaged if the certificate is folded or creased |
| Unique Numbering | Prevents counterfeiting and allows for easy trackingCan be combined with other security features | Can be difficult to implement for large volumes of certificatesMay require a database for verification |
| High-Quality Materials and Printing Techniques | Difficult to alter or counterfeitCan create fine details that are difficult to replicate | More expensive than standard materials and printing techniquesMay require specialized equipment |
Ethical Implications
The use of security features on certificates raises ethical considerations. While these features are intended to prevent fraud and protect the integrity of documents, they may also create barriers for individuals who lack access to secure printing or materials. It is important to balance the need for security with the accessibility and affordability of certificates.
Innovative Security Features
Ongoing research and development efforts are exploring innovative security features for certificates. These include the use of biometrics, such as fingerprints or iris scans, to verify the identity of the certificate holder. Other technologies, such as blockchain and digital signatures, offer potential for secure and tamper-proof certificates.
Troubleshooting Printing Issues

When printing certificates, you may encounter various issues that can disrupt the process. Identifying the cause of the problem is crucial to finding an effective solution. This section provides a comprehensive guide to troubleshooting common printing issues and offers step-by-step instructions for resolving them.
Common printing problems include:
- Printer not responding
- Blank pages printing
- Smudged or faded prints
- Misaligned or distorted prints
- Paper jams
These issues can arise due to various factors, including:
- Hardware problems (e.g., faulty printer, loose cables)
- Software issues (e.g., outdated drivers, corrupted files)
- Paper quality (e.g., unsuitable paper type, wrinkled paper)
- Ink or toner problems (e.g., low ink levels, clogged nozzles)
- Environmental factors (e.g., extreme temperatures, humidity)
Step-by-Step Troubleshooting
- Check the printer connection:Ensure the printer is properly connected to your computer and the power outlet.
- Restart the printer:Turn off the printer, wait a few minutes, and then turn it back on.
- Update printer drivers:Outdated drivers can cause compatibility issues. Visit the manufacturer’s website to download and install the latest drivers.
- Check the paper:Ensure you are using the correct paper type and size for your printer. Remove any wrinkled or damaged paper.
- Inspect the ink or toner:Check the ink or toner levels and replace empty or low cartridges.
- Clean the print heads:Clogged print heads can cause smudging or fading. Refer to your printer’s user manual for cleaning instructions.
- Align the printer:Misaligned prints may indicate the need for printer alignment. Use the printer’s built-in alignment tools or refer to the user manual for guidance.
- Check the print settings:Verify that the print settings in your software match the printer’s capabilities (e.g., paper size, orientation).
Advanced Troubleshooting
If the basic troubleshooting steps do not resolve the issue, you may need to employ advanced troubleshooting techniques:
- Run a printer diagnostic test:Most printers have built-in diagnostic tools that can identify hardware problems.
- Reset the printer to factory settings:This option restores the printer to its original configuration, potentially resolving software issues.
- Contact the printer manufacturer:If you are unable to resolve the issue самостоятельно, reach out to the printer manufacturer for technical support.
Design Considerations for Effective Certificates
Certificates are a tangible representation of recognition and achievement. They serve as a lasting memento and hold significant value for recipients. The design of a certificate plays a crucial role in conveying the importance and credibility of the recognition. Effective certificate design employs principles of visual appeal, typography, color theory, and layout to create a document that is both aesthetically pleasing and impactful.
Typography
Typography is the art of arranging type to make written language legible, readable, and appealing. In certificate design, typography can be used to convey a sense of formality, elegance, or modernity. The choice of font, font size, and spacing can significantly impact the overall tone and readability of the certificate.
Color Theory
Color theory is the study of how colors interact and affect human perception. In certificate design, color can be used to create a desired emotional response or convey specific meanings. For example, blue is often associated with trust and stability, while red is associated with passion and excitement.
The choice of colors should be aligned with the organization’s branding and the intended message of the certificate.
Layout
The layout of a certificate refers to the arrangement of elements on the page. Effective layout creates a visually balanced and cohesive design. Elements such as the certificate border, text, seal, and signature should be arranged in a way that is both aesthetically pleasing and easy to read.
White space can be used to create a sense of spaciousness and draw attention to important elements.
Examples of Well-Designed Certificates
Numerous examples of well-designed certificates can be found online. Some notable examples include:
- The American Institute of Graphic Arts (AIGA) 50 Best Designed Certificates
- The Type Directors Club Certificate of Typographic Excellence
- The Society for News Design Certificate of Excellence
These certificates effectively combine typography, color theory, and layout to create visually appealing and meaningful documents.
Impact of Certificate Design on Recipient Perception and Engagement
The design of a certificate can have a significant impact on the recipient’s perception and engagement. A well-designed certificate conveys a sense of importance and credibility, making the recipient feel valued and appreciated. Conversely, a poorly designed certificate can diminish the value of the recognition and fail to leave a lasting impression.
Incorporating Design Elements that Align with the Organization’s Branding and Values
Certificates should be designed in a way that aligns with the organization’s branding and values. The use of the organization’s logo, colors, and fonts can create a consistent and recognizable brand experience. Additionally, the design should reflect the organization’s values and mission.
For example, a certificate for an environmental organization might incorporate elements of nature or sustainability.
Best Practices for Creating Certificates that are Accessible and Inclusive for Diverse Audiences
Certificates should be designed to be accessible and inclusive for diverse audiences. This includes using fonts that are easy to read for individuals with dyslexia, providing alternative text for images, and avoiding language that is exclusive or discriminatory.
Showcase Examples of Certificates that Effectively Communicate the Value and Significance of the Recognition
Effective certificates communicate the value and significance of the recognition in a clear and concise manner. They use language that is specific and meaningful, and they highlight the recipient’s accomplishments. The design should complement the message and create a lasting impression.
Checklist for the Design and Development of Effective Certificates
The following checklist can assist in the design and development of effective certificates:
- Consider the purpose and audience of the certificate.
- Choose a design that is visually appealing and appropriate for the occasion.
- Use typography, color theory, and layout to create a cohesive and balanced design.
- Incorporate elements that align with the organization’s branding and values.
- Ensure that the certificate is accessible and inclusive for diverse audiences.
- Proofread the certificate carefully before printing.
Importance of Maintaining Consistency in Certificate Design Across Different Recognition Programs
Maintaining consistency in certificate design across different recognition programs is important for several reasons. Consistency helps to create a recognizable brand identity and ensures that all recipients receive certificates of equal quality and value. Additionally, consistency makes it easier to manage and track certificates over time.
Highlight Emerging Trends and Innovations in Certificate Design
Certificate design is constantly evolving, with new trends and innovations emerging all the time. Some of the latest trends include the use of digital certificates, interactive certificates, and certificates that incorporate augmented reality. These innovations can help to create more engaging and memorable certificates that better reflect the achievements of the recipients.
Certificate Frames and Display Options
Selecting the appropriate frame for a printed certificate is crucial for preserving its significance and enhancing its presentation. Frames not only protect the certificate from damage but also elevate its aesthetic appeal, making it a cherished keepsake.
There are various types of frames available, each suited for different settings and preferences. Wooden frames exude a classic and elegant touch, while metal frames offer a modern and sophisticated look. For a rustic and organic feel, consider frames made from natural materials like bamboo or cork.
Acrylic frames provide a sleek and contemporary option, showcasing the certificate without distracting from its contents.
Displaying Certificates for Impact and Longevity
Proper display techniques are essential for maximizing the impact and longevity of certificates. Consider the following guidelines:
- Choose a prominent location:Display certificates in a well-lit and visible area, where they can be easily appreciated.
- Protect from sunlight:Avoid direct sunlight exposure, as it can cause fading and deterioration of the certificate over time.
- Use acid-free materials:Mount the certificate on acid-free paper or matting to prevent yellowing and damage.
- Frame with UV-protective glass:UV-protective glass blocks harmful ultraviolet rays, preserving the certificate’s colors and preventing fading.
- Consider climate control:Maintain a stable temperature and humidity level in the display area to prevent warping or damage.
Digital Certificates vs. Printed Certificates
Digital certificates and printed certificates serve different purposes and have unique advantages and disadvantages. This comparison will help you choose the most appropriate type for your needs.
Advantages and Disadvantages
| Feature | Digital Certificates | Printed Certificates |
|---|---|---|
| Convenience | Easy to share and store electronically | Require physical storage and transportation |
| Security | Can be encrypted and tamper-proof | Susceptible to forgery and counterfeiting |
| Cost | Generally less expensive than printed certificates | Higher production and shipping costs |
| Durability | Permanent and cannot be damaged or lost | Can be damaged or lost over time |
| Authenticity | Can be verified using digital signatures | Require physical inspection for authenticity |
Use Cases
Digital Certificates are most appropriate for:
- Online transactions and digital documents
- Certificates that need to be shared and verified quickly and easily
- Certificates that require a high level of security
Printed Certificates are most appropriate for:
- Formal events and ceremonies
- Certificates that require a physical presence
- Certificates that are intended to be displayed or framed
Converting Between Formats
Converting Printed Certificate to Digital Format:
- Scan the printed certificate to create a digital image
- Use an OCR (Optical Character Recognition) software to extract the text
- Save the extracted text in a digital format (e.g., PDF, Word document)
Converting Digital Certificate to Printed Format:
- Print the digital certificate on high-quality paper
- Use a color printer to ensure accurate reproduction
- Laminate or frame the printed certificate for protection
Security Features
Digital Certificates:
- Encrypted with public key cryptography
- Use digital signatures to ensure authenticity
- Can be revoked if compromised
Printed Certificates:
- May include watermarks or holograms to prevent counterfeiting
- Require physical inspection for authenticity
- Can be easily forged or altered
Key Differences
- Digital certificates are electronic, while printed certificates are physical.
- Digital certificates are more convenient and secure, while printed certificates are more formal and durable.
- Digital certificates are best suited for online use, while printed certificates are best suited for formal events.
Creating Custom Certificate Templates
Designing custom certificate templates offers several advantages, including:
- Enhanced branding and recognition: Custom templates allow you to incorporate your organization’s logo, colors, and unique design elements, making your certificates instantly recognizable.
- Increased flexibility and customization: With custom templates, you can tailor certificates to specific events, awards, or achievements, ensuring they accurately reflect the significance of the recognition.
- Improved security: Custom templates can incorporate security features such as watermarks or unique borders to prevent unauthorized duplication or alteration.
To create custom certificate templates, you can use design software such as Adobe Photoshop or Illustrator, or online tools like Canva or Lucidpress. These tools provide a wide range of templates and design elements to help you create professional-looking certificates.
When designing custom templates, it’s important to ensure consistency and quality across multiple certificates. Here are some tips:
- Establish a clear design style guide: Define the fonts, colors, and layout elements to be used in all certificates, ensuring a cohesive and professional appearance.
- Use high-quality graphics and images: Ensure that any logos or images used in the templates are of high resolution to maintain clarity when printed.
- Proofread carefully: Before finalizing any templates, carefully proofread them for errors in spelling, grammar, and formatting to ensure accuracy and professionalism.
Legal and Ethical Considerations
Printing certificates involves legal and ethical responsibilities that must be considered to ensure the authenticity and integrity of the documents.
It is crucial to use authorized signatures and authenticate certificates to prevent misuse and maintain their credibility. Legal and ethical considerations should be prioritized to safeguard the integrity of printed certificates.
Authorized Signatures
Certificates should be signed by authorized individuals with the appropriate authority to issue them. Signatures serve as a legal representation of the issuing organization and verify the authenticity of the certificate.
Authentication
Certificates should be authenticated through additional security measures, such as seals, stamps, or watermarks, to prevent forgery and unauthorized duplication. These measures enhance the credibility and reliability of the certificates.
Preventing Misuse
To prevent misuse, certificates should be printed on secure paper with anti-counterfeiting features. Additionally, strict controls should be implemented to prevent unauthorized access to and distribution of certificates.
FAQ Corner
What is the best paper type for printing certificates?
High-quality paper with a weight of at least 100gsm is recommended for certificates, ensuring durability and a professional appearance.
How can I prevent certificates from fading over time?
Laminating certificates or using UV-resistant inks and papers can help protect them from fading caused by light exposure.
What are some creative ways to display printed certificates?
Consider using custom frames, shadow boxes, or display stands to showcase certificates and enhance their visual impact.


