How to print a graph in excel – Printing graphs in Excel is a powerful tool for presenting data in a clear and visually appealing manner. This guide will provide you with a step-by-step process for creating and printing stunning graphs that effectively communicate your insights.
Whether you’re a novice or an experienced user, this comprehensive resource will empower you with the knowledge and skills to create professional-quality graphs that enhance your presentations, reports, and other communication materials.
Introduction

Printing a graph in Excel involves transferring a visual representation of data onto physical paper. This article aims to provide a comprehensive guide on the process, covering the necessary steps and considerations for effective printing.
To print a graph in Excel, select the graph and click the “File” tab. Then, select “Print” and choose the desired print settings. If you need to print pictures for a locket, consider using a photo printing service. For instance, you can visit where can i get pictures printed for a locket to find a nearby photo printing service.
After printing the pictures, you can insert them into the locket and enjoy your cherished memories.
Understanding the purpose of printing a graph is crucial. It allows users to share data insights, create physical records for presentations or reports, and preserve visual representations of complex information for future reference or analysis.
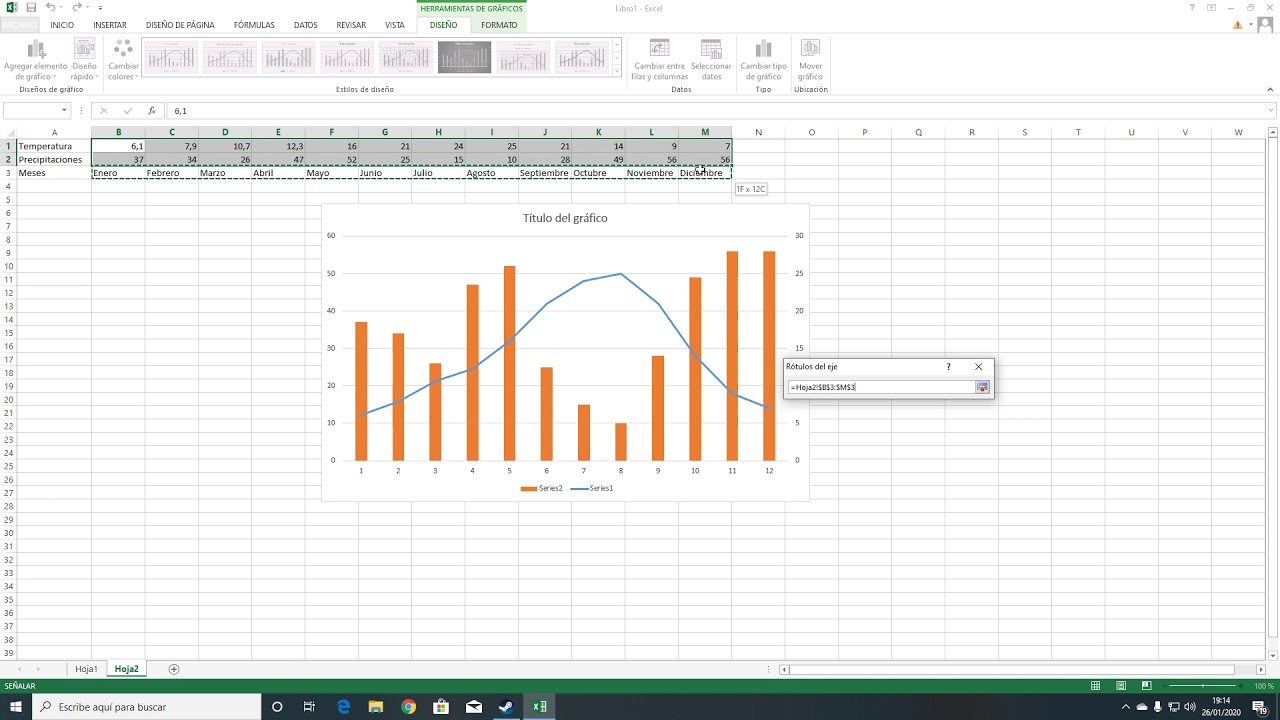
Selecting Data for Graph
Selecting the appropriate data range is crucial for creating an accurate and informative graph. The data range should include all the relevant data points that you want to represent in the graph. To select the data range:
- Click on the first cell in the data range.
- Hold down the Shift key and click on the last cell in the data range.
- The entire data range will be highlighted.
It is important to exclude any unnecessary data from the data range. Unnecessary data can clutter the graph and make it difficult to interpret. To exclude unnecessary data, you can use the following methods:
Hiding Rows and Columns
You can hide rows or columns that contain unnecessary data. To hide a row or column, right-click on the row or column header and select “Hide”.
Using the OFFSET Function
The OFFSET function can be used to exclude unnecessary data from the data range. The OFFSET function takes three arguments: the reference cell, the number of rows to offset, and the number of columns to offset. For example, the following formula would exclude the first row and first column from the data range:
=OFFSET(A1, 1, 1)
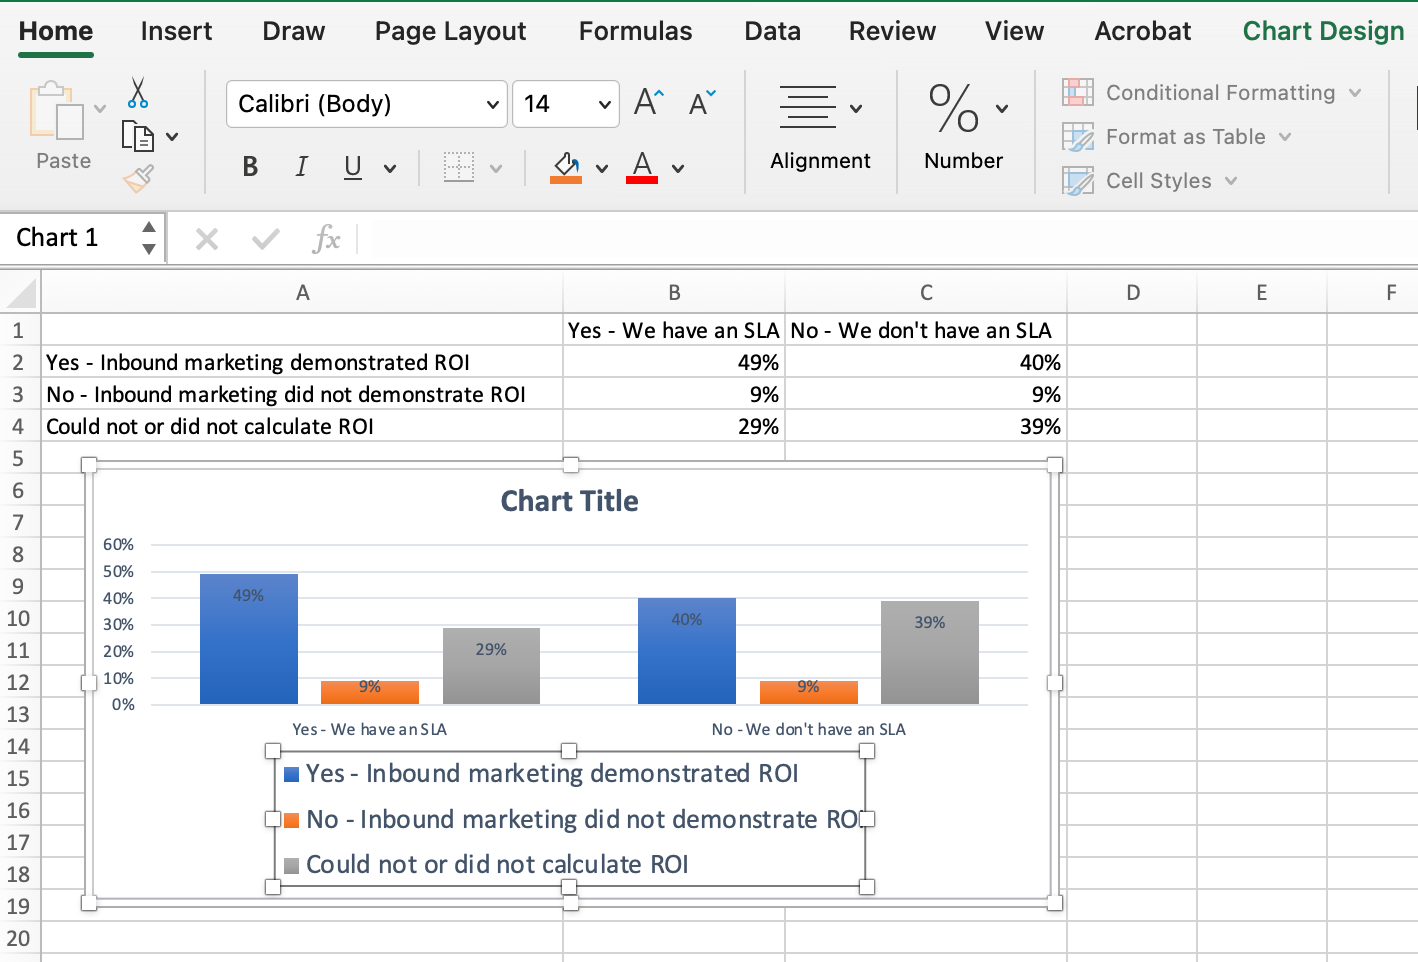
Formatting the Graph
Formatting the graph is essential for enhancing its visual appeal and clarity. It involves customizing the appearance of the graph, including colors, fonts, line styles, and adding labels, legends, and annotations. By effectively formatting the graph, you can make it more visually appealing, easier to interpret, and tailored to specific presentation needs.
Changing the Appearance of the Graph
To change the appearance of the graph, select the graph and go to the “Format” tab in the Excel ribbon. Here, you can customize various aspects of the graph, such as:
- Colors:Change the colors of the bars, lines, or pie slices to improve visual distinction and emphasis.
- Fonts:Modify the font, size, and color of the axis labels, legend text, and other elements to enhance readability.
- Line Styles:Adjust the thickness, style, and color of the lines used in the graph to create visual contrast and highlight specific data points.
Adding Labels, Legends, and Annotations
Labels, legends, and annotations provide additional information and context to the graph. To add these elements:
- Labels:Add labels to the data points, axes, and other elements to provide more specific information.
- Legends:Create a legend to identify the different data series or categories in the graph, making it easier to interpret the data.
- Annotations:Insert text boxes, arrows, or other shapes to highlight specific data points, trends, or relationships in the graph.
Formatting the Axes and Gridlines
The axes and gridlines provide structure and reference points for the graph. To format these elements:
- Axes:Customize the labels, scale, and appearance of the axes to improve readability and accuracy.
- Gridlines:Add or remove gridlines to enhance the visual clarity and make it easier to estimate data values.
Creating Different Types of Graphs
Formatting options allow you to create different types of graphs, each suited for specific data types and presentation purposes:
- Bar Charts:Use bar charts to compare data across different categories or time periods, with the height of each bar representing the data value.
- Line Charts:Plot data points on a line to show trends or changes over time, with the line connecting the points.
- Pie Charts:Represent data as slices of a pie, with the size of each slice proportional to the corresponding data value.
By effectively formatting the graph, you can enhance its visual appeal, improve readability, and tailor it to specific presentation needs, making it a powerful tool for data visualization and communication.
Printing the Graph
Once you have created your graph, you may need to print it. Here are the steps for printing a graph in Excel:
1. Click on the graph to select it. 2. Click on the “Page Layout” tab in the ribbon. 3.
In the “Page Setup” group, click on the “Print” button. 4. In the “Print” dialog box, select the printer you want to use. 5. Choose the paper size and orientation you want to use.
6. Click on the “OK” button to print the graph.
Printing in Different Sizes and Orientations
You can print your graph in different sizes and orientations. To change the size of the graph, click on the “Size” tab in the “Page Setup” group on the “Page Layout” tab. In the “Size” dialog box, you can select the width and height of the graph.
To change the orientation of the graph, click on the “Orientation” tab in the “Page Setup” group on the “Page Layout” tab. In the “Orientation” dialog box, you can select the portrait or landscape orientation.
Saving the Graph

Once you have created and customized your graph, you may want to save it for future use or share it with others. Excel provides several options for saving and sharing graphs, including exporting them as images or saving them in specific file formats.
Exporting the Graph as an Image
Exporting the graph as an image is a quick and easy way to save it in a format that can be easily shared or used in other applications. To export the graph as an image, follow these steps:
- Select the graph.
- Click the “File” tab.
- Click the “Export” button.
- Select the desired image format from the drop-down menu.
- Click the “Save” button.
The graph will be saved as an image file in the specified format.
Saving the Graph in a Specific File Format
In addition to exporting the graph as an image, you can also save it in a specific file format. This can be useful if you want to preserve the formatting and data of the graph or if you want to share the graph with someone who does not have access to Excel.
To save the graph in a specific file format, follow these steps:
- Select the graph.
- Click the “File” tab.
- Click the “Save As” button.
- Select the desired file format from the drop-down menu.
- Click the “Save” button.
The graph will be saved in the specified file format.
Options for Sharing the Graph
Once you have saved the graph, you can share it with others in a variety of ways. You can:
- Email the graph as an attachment.
- Share the graph on a shared network drive.
- Upload the graph to a cloud storage service.
- Embed the graph in a presentation or document.
The best way to share the graph will depend on the specific circumstances.
Table of File Formats
The following table summarizes the available file formats for saving graphs in Excel, along with their respective advantages and disadvantages:
| File Format | Advantages | Disadvantages |
|---|---|---|
| PNG | Small file size, supports transparency | Lossy compression, not suitable for printing |
| JPEG | Small file size, good for web use | Lossy compression, not suitable for printing |
| GIF | Small file size, supports animation | Limited color palette, not suitable for complex graphs |
| BMP | Lossless compression, suitable for printing | Large file size |
| TIFF | Lossless compression, high quality | Large file size |
| Preserves formatting and data, can be shared with anyone | Can be large file size |
Code Snippet
The following code snippet demonstrates how to save the graph as a PDF file:
Sub SaveGraphAsPDF()

    Dim wks As Worksheet
    Dim cht As ChartObject

    Set wks = ThisWorkbook.Worksheets("Sheet1")
    Set cht = wks.ChartObjects("Chart 1")

    cht.Export Filename:="C:\path\to\graph.pdf", Filter:="PDF"

End Sub
Tips on Choosing the Right File Format
When choosing a file format for saving your graph, consider the following factors:
- The intended use of the graph.
- The size of the graph.
- The quality of the graph.
- The compatibility of the file format with other applications.
Troubleshooting Common Issues

When printing graphs in Excel, various issues may arise. Understanding and resolving these problems is crucial to ensure successful printing outcomes.
Incorrect Print Size or Scale
Ensure the graph size and scale are appropriately set in the Print Setup dialog box. Adjust the scaling options, such as “Fit to Page” or “Custom Scale,” to fit the graph within the desired print area.
Graph Not Printing Clearly
Check the print quality settings in the Print Setup dialog box. Select a higher resolution, such as 600 dpi or higher, to enhance the clarity of the printed graph.
Graph Colors Not Printing Correctly, How to print a graph in excel
Verify that the printer settings are configured to print in color. Additionally, check if the graph colors are set correctly within Excel. Ensure the colors are not inverted or assigned incorrectly.
Graph Elements Missing or Truncated
Ensure the graph is fully visible within the print area. Adjust the margins or page orientation in the Print Setup dialog box to accommodate all graph elements.
Printing Delays or Errors
Check if the printer is properly connected and has sufficient paper. Close any unnecessary programs or applications that may be consuming system resources and causing printing delays.
Advanced Techniques

To create complex graphs in Excel, advanced techniques can be employed. These techniques involve utilizing formulas and other features to enhance the visual representation and functionality of graphs.
One such technique is using formulas to calculate and display data values within the graph. For example, a formula can be used to calculate the moving average of a data series, which can be plotted on the graph as a line or curve.
Customizing Data Labels
Excel allows for extensive customization of data labels, which can be used to provide additional information or context to the graph. Data labels can be formatted with different fonts, colors, and sizes, and can be positioned inside or outside the data points.
Adding Trendlines
Trendlines can be added to graphs to identify trends and patterns in the data. Excel provides various types of trendlines, such as linear, exponential, and polynomial, which can be used to approximate the underlying relationship between the data points.
Error Bars
Error bars can be used to represent the uncertainty or variability in the data. They can be added to graphs to show the standard deviation, standard error, or confidence interval for each data point.
To print a graph in Excel, select the graph and click on the “File” menu. Then, select “Print” and choose the desired printer settings. If you encounter any issues with printing, you may want to consider consulting with de jonge prints , a leading provider of printer troubleshooting and support services.
They can assist with resolving any printing-related problems and ensure that your graph prints correctly.
Sparklines
Sparklines are small, embedded graphs that can be used to visualize data trends within a cell or range of cells. They are particularly useful for displaying large amounts of data in a compact and easily digestible format.
Examples and Demonstrations
To enhance understanding and showcase the practical applications of graph creation and printing in Excel, we will delve into real-world examples and step-by-step demonstrations. We will explore various types of graphs, their purpose, usage, and customization options. By providing specific industry and professional examples, we aim to illustrate the versatility and effectiveness of graphs in communicating data effectively.
Line Graph Example
A line graph is commonly used to display trends or changes over time. For instance, a business may create a line graph to track sales revenue over several quarters. By connecting data points with lines, the graph reveals patterns, fluctuations, and overall trends.
This type of graph is particularly useful for identifying growth, decline, and seasonal variations.
Bar Graph Example
Bar graphs are effective for comparing values across different categories or groups. For example, a marketing team might use a bar graph to compare the effectiveness of different advertising campaigns. The height of each bar represents a specific value, allowing for quick visual comparisons between categories.
Pie Chart Example
Pie charts are useful for displaying the proportion of parts to a whole. For instance, a pie chart can be used to represent the distribution of market share among competing companies. Each slice of the pie represents a specific percentage, providing a clear visual representation of the relative sizes of different segments.
Scatter Plot Example
Scatter plots are used to explore the relationship between two variables. For example, a researcher might create a scatter plot to investigate the relationship between study hours and exam scores. By plotting data points on a graph, scatter plots reveal patterns and trends, helping to identify correlations or lack thereof.
Customizing Graphs for Specific Needs
Excel offers a range of customization options to tailor graphs to specific needs. For instance, users can adjust axis labels, add data labels, change colors, and modify the layout. By customizing graphs, businesses can highlight key insights, improve readability, and enhance the overall visual impact.
– Explain the importance of using high-quality data for graph printing
Using high-quality data is crucial for effective graph printing. Poor-quality data can lead to misleading or inaccurate graphs, which can compromise decision-making and understanding. High-quality data ensures that the graphs accurately represent the underlying information and provide reliable insights.
Data Accuracy
Accurate data is essential for accurate graphs. Data should be free from errors, outliers, and inconsistencies. Data accuracy can be ensured through careful data collection, verification, and cleaning.
Data Relevance
Data relevance ensures that the data used for graph printing is directly related to the topic or question being explored. Irrelevant data can clutter the graph and make it difficult to interpret.
Data Completeness
Complete data provides a comprehensive view of the information being represented. Missing or incomplete data can lead to biased or inaccurate graphs.
Additional Resources
:max_bytes(150000):strip_icc()/create-a-column-chart-in-excel-R2-5c14f85f46e0fb00016e9340.jpg)
To further enhance your knowledge and skills in graph printing in Excel, consider exploring the following resources:
Tutorials and Articles
- Print a chart or graph in Excel (Microsoft Support)
- Printing Graphs in Excel (Excel Easy)
- Excel Printing Tips: How to Print Excel Spreadsheets and Charts Correctly (Ablebits)
Other Relevant Materials
- Microsoft Excel Training (Microsoft)
- Excel Data Analysis Specialization (Coursera)
- Excel 2019 Essential Training (LinkedIn Learning)
– Summarize the key points covered in the article
This article provides a comprehensive guide to printing graphs in Excel, covering everything from selecting and formatting data to troubleshooting common issues. By following these steps, you can create high-quality graphs that effectively communicate your data.
Excel is a powerful tool for creating graphs, offering a wide range of features and customization options. With Excel, you can easily create a variety of graph types, including bar charts, line charts, pie charts, and scatter plots. You can also customize the appearance of your graphs by changing the colors, fonts, and layout.
Benefits of using Excel for graph printing
There are many benefits to using Excel for graph printing, including:
- Ease of use:Excel is a user-friendly program that makes it easy to create and print graphs.
- Versatility:Excel can be used to create a wide variety of graph types, making it a versatile tool for data visualization.
- Customization:Excel offers a wide range of customization options, allowing you to create graphs that meet your specific needs.
- Accuracy:Excel is a powerful tool that can help you create accurate and reliable graphs.
Answers to Common Questions: How To Print A Graph In Excel
How do I select the right graph type for my data?
The type of graph you choose should align with the nature of your data and the insights you want to convey. Consider factors such as the number of data points, the distribution of data, and the relationships between variables.
What are some common mistakes to avoid when printing graphs?
Common mistakes include using too many colors, cluttering the graph with unnecessary elements, and misrepresenting data. Always prioritize clarity and accuracy in your graph design.
How can I troubleshoot common printing issues?
If you encounter printing problems, check your printer settings, ensure the graph is formatted correctly, and try updating your printer drivers. If the issue persists, consult the troubleshooting section of this guide.


